Monday, October 25, 2010

Nature Bag

I made this little bag for Y last night (another birthday gift).  The pattern is from "Linen, Wool, Cotton" by Akiko Mano; fabric is organic cotton from Organic Cotton Plus.  I'm hoping Y will be as happy with his.  He often asks me to hold his nature bag (which is like a standard canvas bag with two handles, but his is thin cotton) while we're in the forest because it's hard for him to balance and climb while holding onto the bag.  This bag is designed as a messenger bag with only one strap, so it's to be worn over his neck.  I'm adding some embroidery that I'll finish tonight - his name and some elements from the Cinderberry Stitches' precious Sweet & Spotty Needle Wallet.

The bag:
102610

My (organic) "Emily's Organics" label that I got from greenbeanstrings on Etsy:
102610

Finished photo (with embroidery) coming soon!

Saturday, October 16, 2010

Stockmar Block Crayon Roll

1/17/10

102610

102610

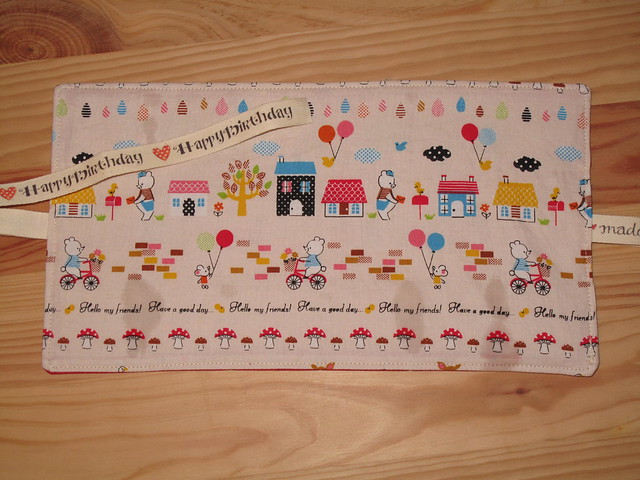
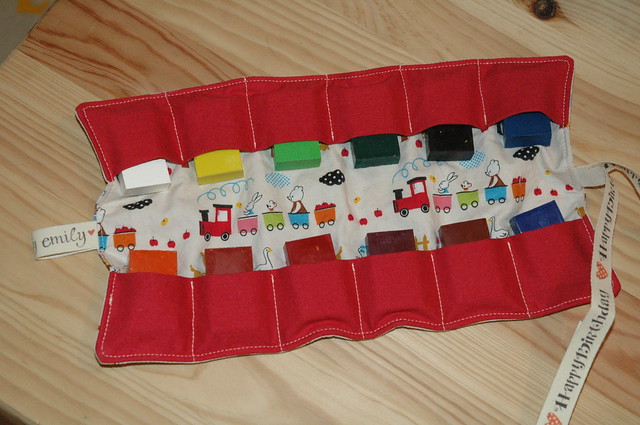
I just finished this crayon roll for Y's birthday.  It can hold 12 Stockmar block crayons.  Disregard the water marks - I used a water erasable pen for markings... 

Measurements:
Outside fabric, inside fabric and interfacing fabric:  6.5" x 11.25"
Red fabric (two pieces):  4" x 11.25" (folded in half lengthwise before sewing to the inside fabric)
Ribbon:  20" (this time I used ribbon from Lillalotta).

Directions:
1.  Cut all fabrics
2.  Iron interfacing to wrong side of inside fabric
3.  Fold crayon-holding fabric (my red fabric) in half lengthwise and iron.  Pin in place (fold is toward the inside of the crayon roll).  Make a vertical mark at 2.125" from the left edge, then four more markings every 1.75".
4.  Stitch along markings, going back and forth a bit at beginning and end.
5.  Fold ribbon in half with pattern on the INSIDE and topstitch to right side of inside fabric.
6.  Pin ribbon to the inside fabric so you don't accidentally sew over it.
7.  Place right side of outer fabric to right side of inner fabric and sew with 1/4" seam allowance, leaving a 3.5" hole for turning right side out (I left hole at short end on the side without the ribbon).
8.  Trim corners and turn right side out.
9.  Poke out corners with a knitting needle or similar, iron and topstitch 1/8" all around.
10. Insert crayons and enjoy!

Tuesday, October 5, 2010

Knitted Gnome

100510

How cute is this little gnome!?!??! I used this free pattern - THANK YOU Tonya! It is such a fun pattern - just took me an afternoon (with interruptions) and Yoav stuffed it and sewed the arms on (you can't tell that he did it versus me - I was surprised he was able to do it so well with no tips!) The wool is Purewool. I definitely will be making more of these - it's easy, quick, fun to knit, and the finished product is adorable!!