Sunday, November 8, 2009

Sweet and Spotty Needlecase


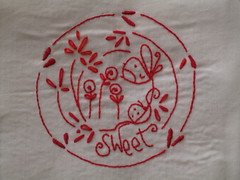
I'm making Natalie Lymer's adorable Sweet & Spotty Needlecase. I finished all the embroidery. Unfortunately I used two slightly different DMC threads - one is slightly darker than the other. I didn't even realize but the second I showed Yoav he mentioned it. Of course, he's so sweet he said he liked it with the two colors and I can barely tell and it's a project for me anyway, so I'm just going to leave it. If it were a gift, I'd probably fix it. Also I did all the inside flowers Laisy Daisy stitch instead of Satin because I'm lazy :) No, actually it's just because I don't like doing satin stitch. I need a Pigma Micron Size 1 pen to get it a little better - my lines were a bit thick which makes it hard to do perfect embroidery. I used a water soluble fabric pen, which was quite thick, but at least it completely erases at the end, which is nice for people who don't do perfect embroidery ;)

Saturday, October 17, 2009

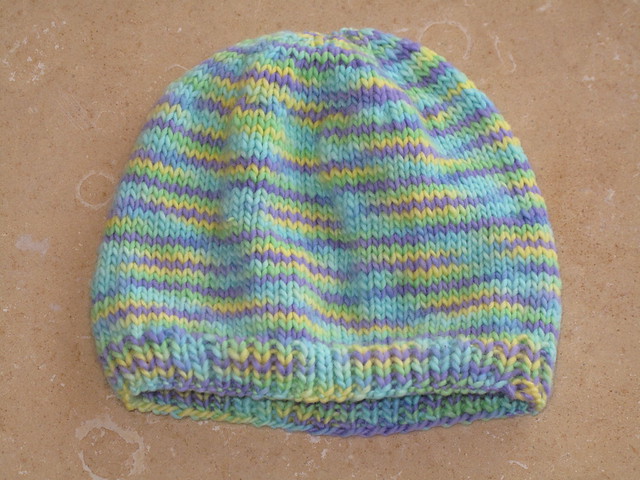
Hat for Y

102710

I finished Y's hat today.  It's with my new Three Irish Girls yarn; pattern is Knitting Pure and Simple Basic Hat and Mitten Set for Children; #8 needles.  He is very happy with it - hopefully it'll be comfy for him when he wears it for long periods.

Wednesday, October 7, 2009

Finished: D9P Doll Quilt


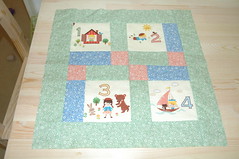
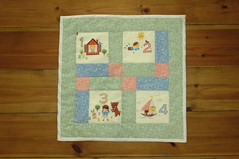
I finished this little doll quilt for Y. I have to say I had SO much fun making it and I love how it turned out. I used this tutorial for the D9P (Disappearing Nine Patch), but as I said before, I generally like more ordered quilts, so I came up with this - I did the four numbers from a Japanese Cosmo fabric, the flowers are all Windham Story Book fabric - I started with blue in the top middle square and bottom middle square, green in the left and right middle squares and pink in the middle. The back is a yummy natural colored organic flannel. Hopefully it won't get too dirty. It'll be really soft for the dolls LOL. And I used a thin bamboo/cotton batting. I quilted it with stitch-in-the-Ditch. Last time I did stitch-in-the-ditch was with a little nine-patch quilt so I didn't have to start/stop, just stitched end to end. This time with the border, I had to do some starting and stopping, which I did by setting the stitch length to 0 and doing a few stitches in place to secure the stitching. Binding I used a pre-made double fold bias tape. I thought it would make it much easier since I wouldn't have to make it, but it was a bit thin and stretchy and hard to work with. I like making it myself better. I'm going to try to get a label on one of the days using this tutorial. I just need to get some freezer paper.

I entered this little quilt into a Virtual Quilt Festival hosted by Amy of Park City Girl. It's really fun to look through the quilts for inspiration! Thanks Amy for hosting this!

And I figured out a great trick to offset the late-night sewing! I listened to an Aldort CD (the Raising Competent Children one, always a favorite for me) as I was doing the hand stitching for the binding, so I woke up revved up for a fully-connected day which seems to be really and truly offsetting the sleepiness. Oh, and the cup of coffee :)
Tuesday, October 6, 2009

DNP Doll Quilt Top


So Y wanted me to make him the random quilt, but it's not quite right for me - I only have one yellowish Story Book fabric, so there's three big pinks, one big yellow and two big greenish ones - I want to order some more fat quarters so I can mix it up better before I make it. So, meanwhile I spent hours searching for a pattern I liked and wanted to try. I'm falling fast for this quilting stuff! I really want to try different types of blocks. The doll quilts are perfect for learning. I found this tutorial. I love the way her quilt looks, but I don't have enough of the Story Book fabric to have nine squares that would look good in this format. So then I came up with a layout that I love! The quilt top is done, just gotta sew on the back. I turned the squares just the way the woman did in the tutorial, so the 2 and 3 both started out turned ninety degrees - so the tops of the numbers were to the right.

Saturday, October 3, 2009

Done with Doll Quilt #1


All done! This is for my niece, K.

Done with Doll Quilt #1


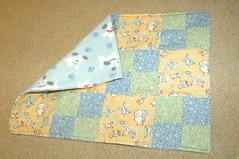
All done! My sister liked the ordered one best and this one is for my niece. I'm going to make the random one for Y. Thanks to everyone who voted! I don't like the random one as much so it helps to see that other people like it before I make it - that's the one Y wanted and he did most of the layout. The tutorial is here.

I have to say, I LOVE having a sewing room. Sewing is SO much faster and more fun now! This was my first time turning on the sewing machine - I had to bring the transformer from the kitchen. I plugged the sewing machine and iron into the transformer and put the iron on a small wooden table perpendicular to the sewing table with a piece of insul-bright and dishcloth on top, so I could easily iron after each step. In my apartment, ironing meant I had to get up and walk into the kitchen where I had the iron set up, so I wasn't as good about ironing in between each step. And before I barely had any space on my table, so as my sewing fabric went behind the machine, it would bunch up and knock into all the other things I was using. Now I actually have space on my table for the cutting mat and rotary knife on the left half of the table and sewing machine on the right and plenty of space behind the machine for the fabric. I LOVE it!! Oh, did I say that already??? I'll take pics of the sewing room in action another day. Quite a pleasure. I have a feeling I'm going to be spending a lot more time sewing now :)

Wednesday, May 13, 2009

Doll Quilt for my niece


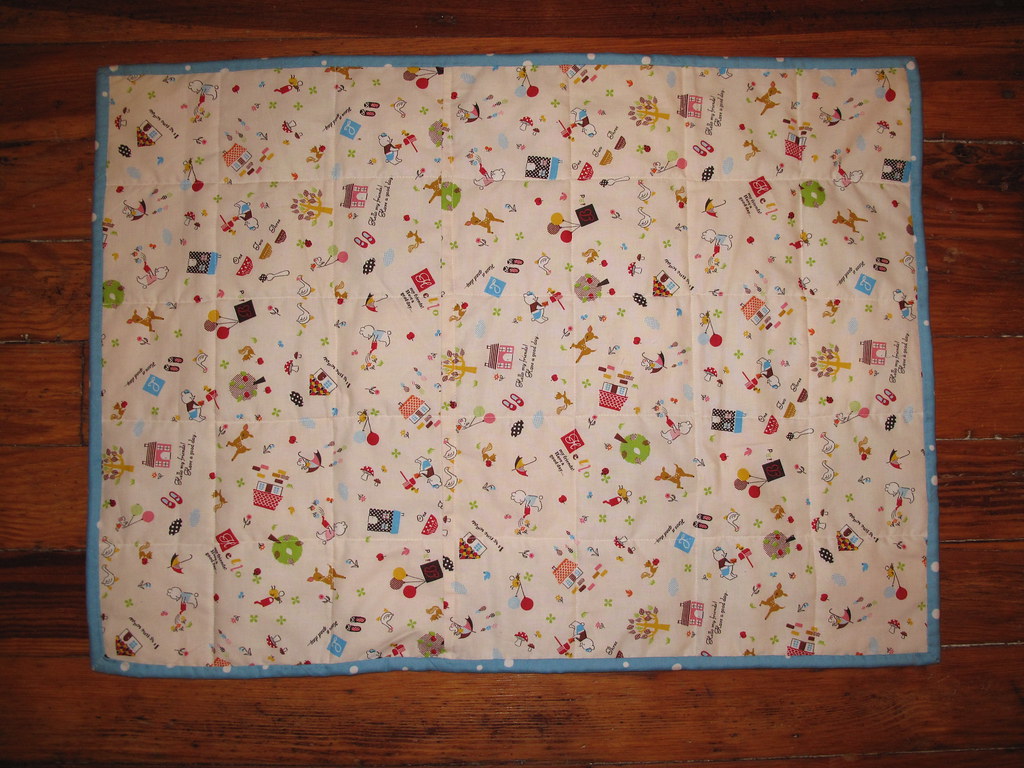
I finished my doll quilt for my niece. I must say that I love it :) The basic idea was from this I-Spy quilt. I couldn't deal with the randomness of a quilt like that, so I decided to make an organized I-Spy quilt with the "Hello My Friends" line of fabric from Cosmo Textiles. The front is Hello My Friends and a blue/white dot fabric (Caramel Town line from Lecien). All the fabric was from Superbuzzy.com. The back is a different Hello My Friends pattern, but with the same little characters. I used this tutorial for the binding, which was really clear and came out perfectly IMHO :)